Creating a Page
Lesson Contents
- Creating a page in the living style guide
- Adding the page to the navigation
- Adding content to the page
Video Lesson
Written Lesson
While the bulk of your living style guide (LSG) documentation will come from special comments that you add to the source code, you can also create standalone pages and host other type of content that is not specific to the code (think of design principles, accessibility guidelines, or general information about your project).
With this in mind let’s jump into using DocumentCSS to create a new page in your LSG (if you haven’t been following along, check the previous lesson to learn how to install the sample app that we will be using).
To begin, first open the sample application in your code editor. You should see the following file structure:

Drill down into the src directory, and find base/markdown. Here you will find pages that already exist in the style guide. Inside of it, create a new markdown file and name it “about” and give the extension .md. Your file structure should now look like this:
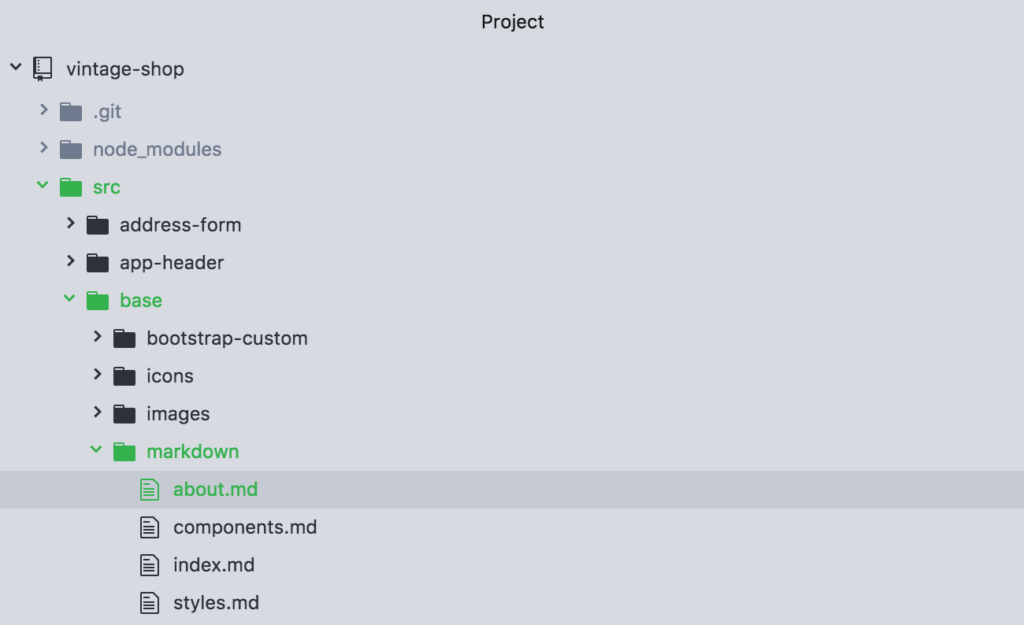
Inside of this new file, add the tag @page followed by two strings:
@page about About
Now let’s break this down:
@page
The tag @page declares the file as a page and tells DocumentCSS that the information in this file should be displayed a page in the style guide. This serves to differentiate it from stylesheets, javascript, and other types of files in your documentation.
about
This is the unique name for the page and is used as a reference to other tags. So keep it short, lowercase and simple as it will be used as the url for the page. For our example, the url for our new page will be: http://localhost:8080/styleguide/about.html
About
This is the title of the page that will be used for display purposes in the generated site. Here you can use multiple words with spaces or other characters.
To view the newly created page run documentjs in the terminal again (unless you have it watching for changes), and then go to http://localhost:8080/styleguide/about.html to view the new page.
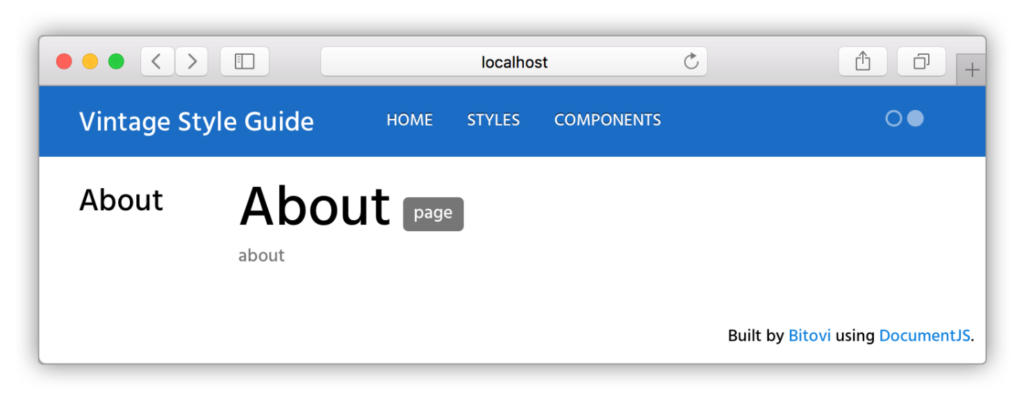
The next step is to add your page to the navigation. For this add a second line to your file as follows:
@page about About
@parent home
The tag @parent allows to specify a parent for your document. In this case we want the “About” page to show under the home section. Now you can rerun the docs and see the page appear below the “Welcome” link:
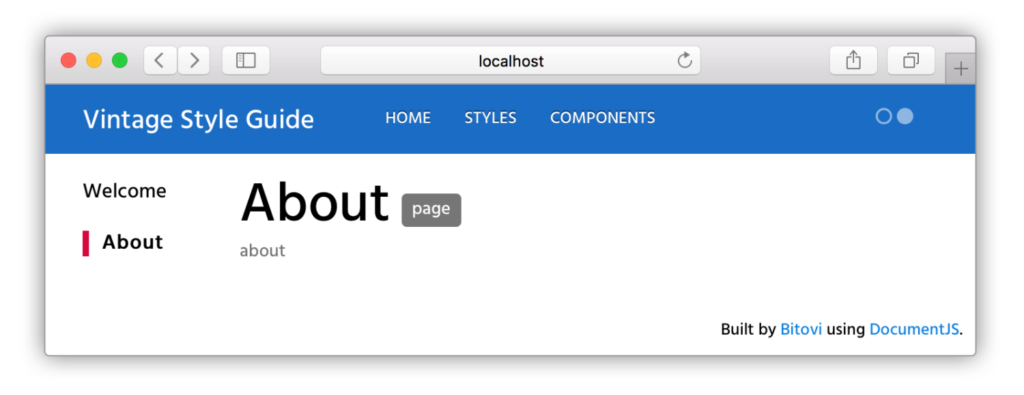
And if you click on the “Welcome” link, you can access the start page:
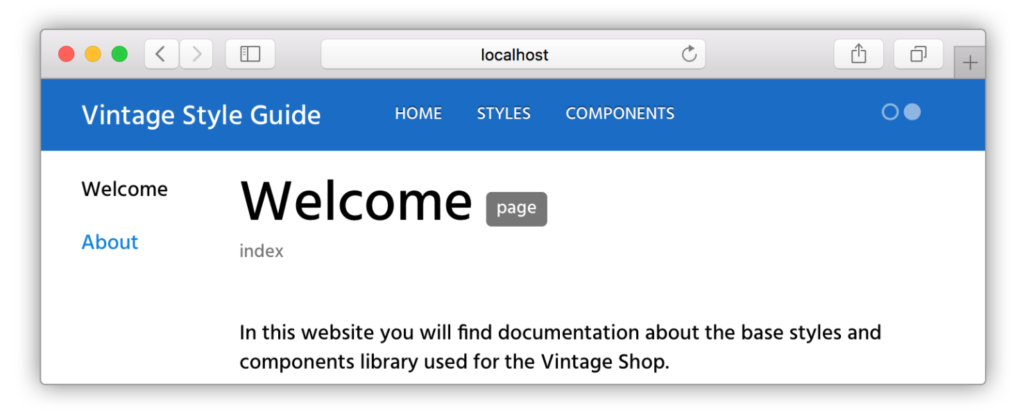
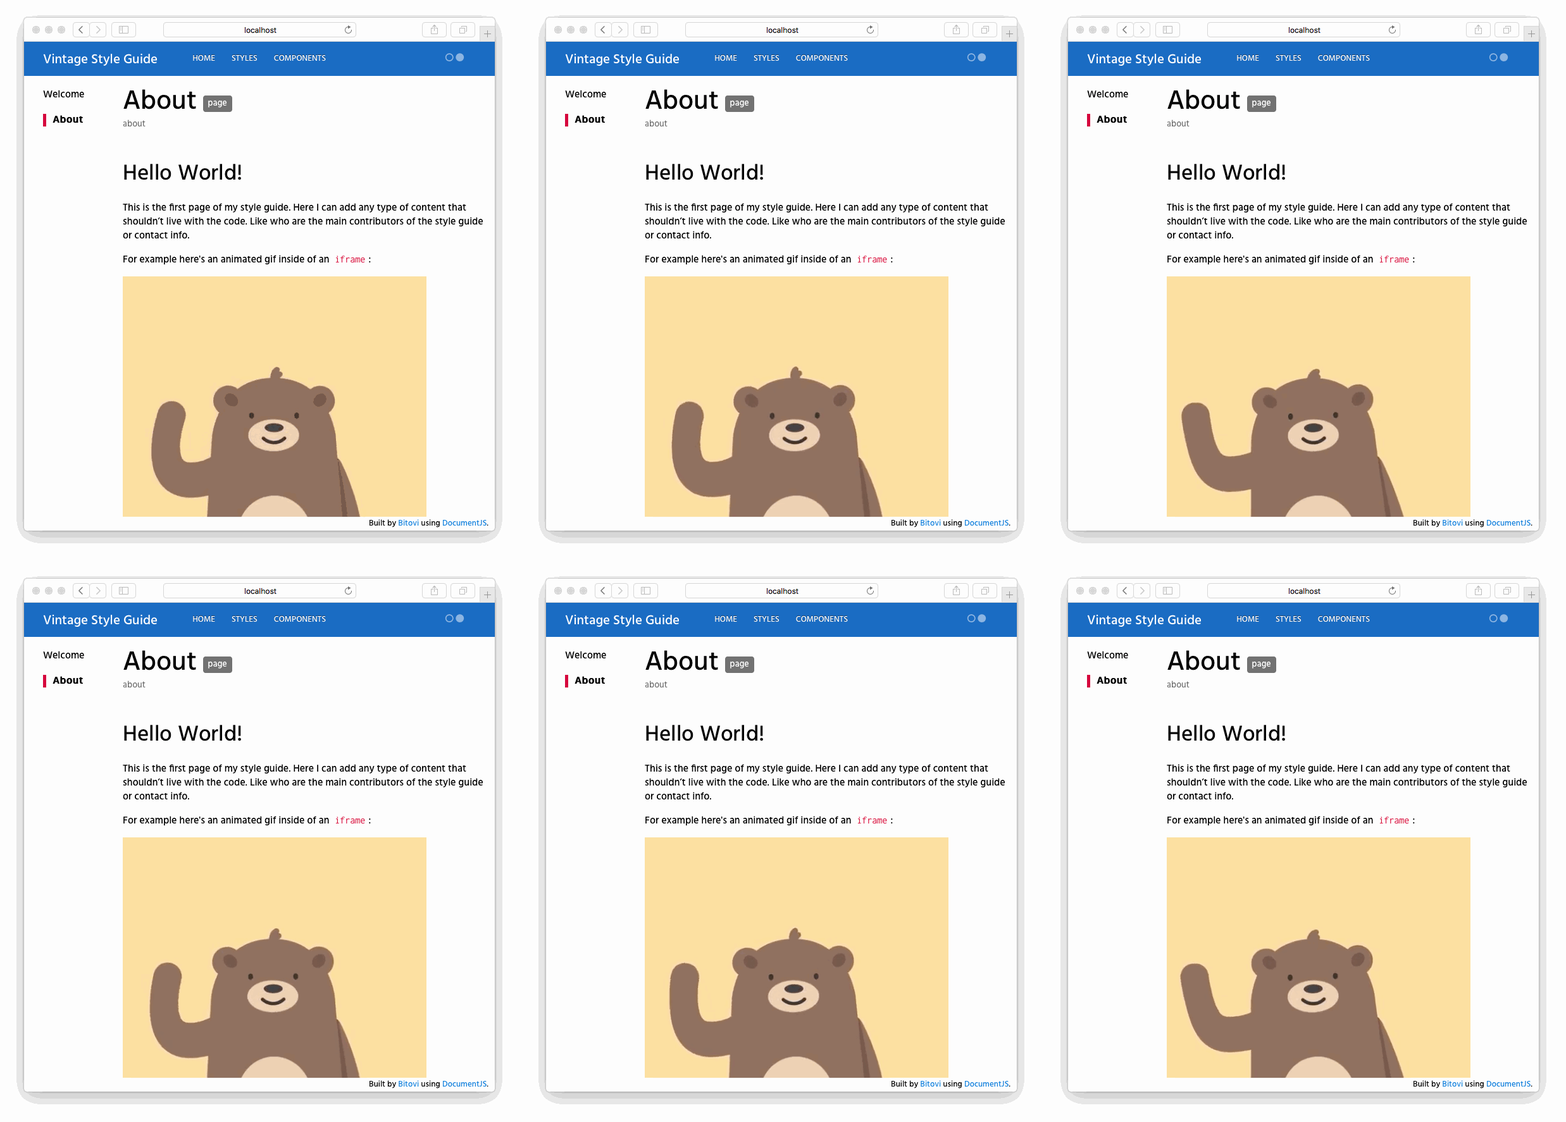
Now you can add content to this page using markdown or html. To finish the exercise, let’s add the following dummy content:
@page about About
@parent home

## Hello World!
This is the first page of my style guide. Here I can add any type of content that shouldn’t live with the code. Like who are the main contributors of the style guide or contact info.

For example here's an animated gif inside of an `iframe`:

<iframe src="https://giphy.com/embed/3o7TKMt1VVNkHV2PaE" width="480" height="480" frameBorder="0" class="giphy-embed" allowFullScreen></iframe>
And here’s the output:
Now that you know how to create pages in the living style guide, you can move on to learning how to Document a Stylesheet. The principles will be the same but with additional features.
[wpforo item=”forum” id=”23″]

